This is an optional step which will cost you real money if you move forward with it. While the free tier is manageable and can truly be 'free', adding a domain in of itself costs money, but it is also the only way to take full advantage of also using Route53. Sadly, Route53 also costs money to use above and beyond the free tier in that each domain costs USD$0.50 per month at a minimum. DNS queries over time can cost a few cents (or if you have a popular domain, dollars, or if you have a really popular domain, many dollars!).
All that said, I'm going to presume that you will have a domain, and that you will use Route53 when I move through using the service. There is a very simple reason for this - AWS services integrate with each other very well, and Route53 is one of those central pieces that really do connect all the dots.
One point to note - it is easy enough to transfer an existing domain from a different register to AWS - very similar in fact to the steps below. You don't actually need to do this in order to take advantage of the Route53 DNS service, so you can instead totally ignore the below and not actually transfer the domain. Instead you could just transfer over your DNS service to AWS and still take advantage of the integrations.
A key item to know when running a domain migration is that AWS use GHANDI as their register of choice, so when you migrate one of the more complicated domains such as .co.uk, you need to know that information in advance, otherwise you may make the same mistake I did when transferring my first complicated domain and chose one of the Amazon related names in the international list of registers. Amazon have one, but use it for internal domains and not for the public facing Route53 service. Best to know before migrating right? :)
So with no further preamble, lets get on with registering a domain!
After switching to the Route53 dashboard in the AWS web console, you will be greeted by a 'get started now' dialog (or if you already have a domain, an actual dashboard). The vanilla greeting dialog (with a focus on registering a domain) looks like so:
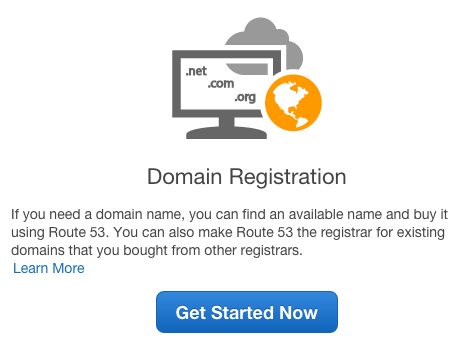
You can either click the 'Get Started Now' button, or click on the 'Registered Domains' menu item on the left. If you do you can then start registering a domain by clicking the 'Register Domain' button at the top. This second method is how you will register your 2nd domain and beyond:
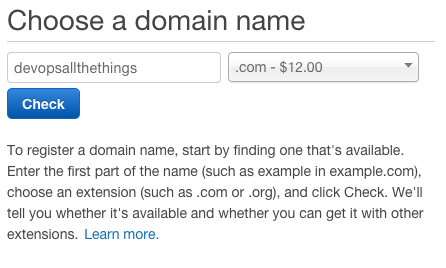
Now for the really hard part. Finding a domain that you like, that is also available. For this example, I'm registering a domain called devopsallthethings.com which ultimately I'll redirect to my main doatt.com domain. I like less typing and was lucky enough to get a nice short domain name.
Amazon are quite clear about what the pre-tax cost will be of a domain, so choose wisely both for enabing others to be able to type in the domain name easily, as well as being able to remember what the domain was actually called. You know your market better than I, so good luck with the domain name search!
Clicking the 'Check' button will help you find a domain that is available:
Once you have found a domain that you like, click the 'Add to cart' button:

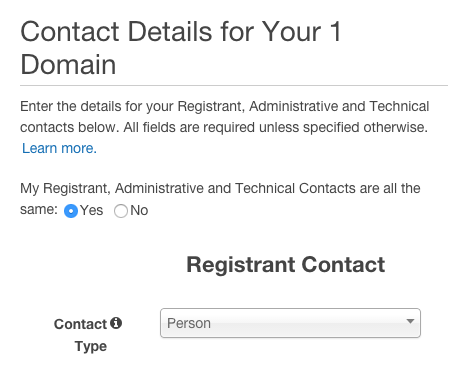
Next up, you need to enter contact information. Some (but not all!) domains come with privacy protection for domains registered as a person rather than company. If that is you, use the 'Person' option when prompted. If you are part of a larger organisation, then you probably have somebody else registering the domain for you, or know who to ask for what details to put in for the conatct details. Obviously I'm not going to make it easy to find my actual contact details, so I'm skipping showing the full form with all the information listed.
Let me just stress here, that correct information is paramount. Putting in fictitious addresses is a bad idea, and putting in an incorrect email address is worse. The email address will be used in the future for domain related information, so is very important.
Once you have entered in your contact details Amazon are going to get you to confirm that you are willing to part with actual money. Domain registrations happen outside of the normal monthly billing cycle with AWS, so you will get an immediate charge, and a yearly one afterwards for a similar amount. They also outline the expected fees you should be aware of - again, Route53 is not free (although USD$0.50 for a month of DNS is pretty good value given the infrastructure AWS use), so be aware you are setting yourself up for some costs here. You as always are in control :)
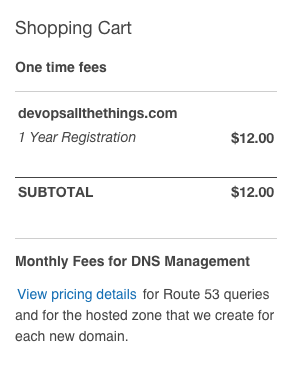
Now that you have been asked a few times to confirm all these steps, you have to (finally!) complete your purchase:

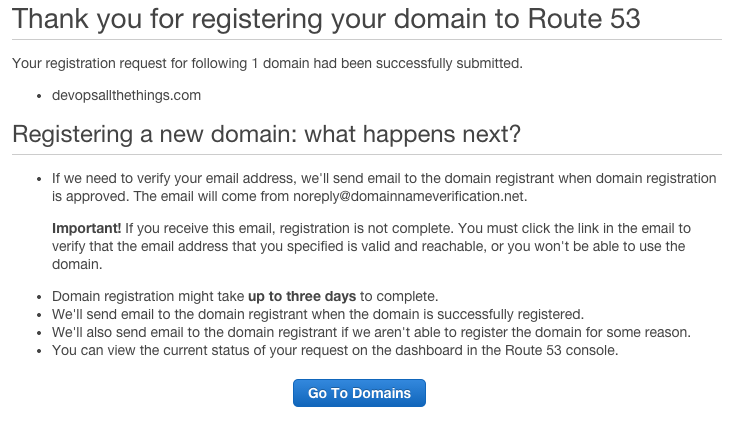
This brings up a nice 'what happens next' screen. For most standard domains you should expect to have the domain up and running in minutes - Amazon Web Services like to cover their bases and say allow up to 3 days just in case of course. Some of the more obscure top level domain (TLD) extensions do actually take a few days, so your milage will vary depending on which TLD you chose.
Once GHANDI (the AWS register working in the background) has moved the domain registration to the next stage, you will receive an email to the primary account contact that you listed earlier. This is a good check to make sure you are receiving the emails related to the domain.
Nothing to do here other than wait a bit for the domain to finalize on the AWS side of things in their console.
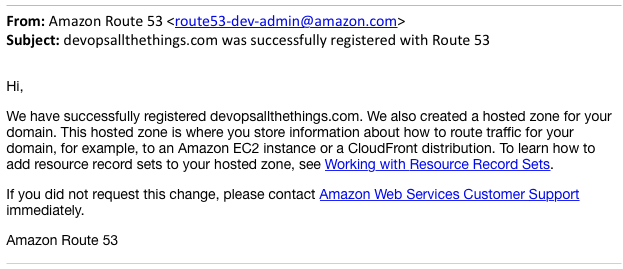
Once the domain is finalised, and if you used AWS to register the domain, you will see an entire similar to the below:

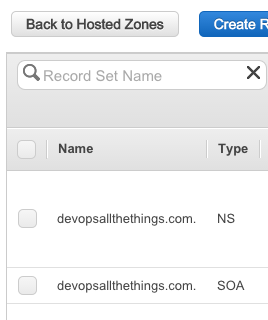
Note that AWS automatically set up Route53 for you - this was detailed earlier on in the process as part of the costs associated with buying the domain, so should not be a surprise. If you are feeling adventurous, you can now click on the Route53 entry and see the automatically created NS (nameserver) and SOA (Start of Authority) records that were created for you.
We will be back in here many times as we use other AWS services such as S3, CloudFront and even EC2. But that is information for another day...